Showing posts with label freedom. Show all posts

Tuesday, 28 July 2015

Job Interview Makeup and Outfit...

As you might have guessed by the title, I had a job interview today, eeeeeeek, scary I know! I was so nervous this morning, I could hardly eat because I felt so sick, haha!
I had initially decided I wouldn't wear makeup as I didn't want to look 'fake', but then when I found out that I had to do a presentation as part of the interview I knew I wouldn't feel comfortable with no makeup on while doing a presentation. Because doing presentations are probably one of the scariest things I have ever had to do and I avoid them at all costs! Even at university when it came to doing group presentations I would be the only one in the group who wouldn't talk! Ah I hate them, but I do know I would find it slightly less nerve racking if I felt comfortable within my own skin, so therefore I knew I had to wear makeup.
Yes, I know it is silly that I don't feel comfortable without makeup on, but I just love how makeup can just cover my blemishes and instantly make me feel better.
I did do a more 'minimal' makeup look, and it was a lot more natural(ish) than usual. I understand that this may still be a lot of makeup to some, but to me it isn't much at all, and if you look at my previous makeup look posts, I do use a lot more products in those than I have in this one :)
So here is the look :) 

I wore black smart trousers from Peacocks, a black blouse from Dunnes, and a grey blazer from Primark (I think). I got all of the outfit about two years ago, so can not remember the price of the blouse and the blazer, but I do know Peacocks still sell the trousers and they are around £9. 

 On my face I used Benefit's That Gal brightening face primer, which I LOVE and I am seriously considering buying the full sized product once I have the money, I love it that much! I then used Benefit's Porefessional under my eyes and around my nose. 
Then I used Natural Collection's Green Concealer to cover my redness. Then for foundation I used Benefit's Hello Flawless foundation, followed by Maybelline's Fit Me concealer under my eyes and over anymore blemishes that were still peaking through.
I also used Urban Decays All Nighter Setting Spray when I had finished all my makeup to set it all.

 Then on the rest of my face I used MAC's Prep and Prime Transparent finishing powder to set my under eye concealer. I then used Freedom's Bronzer to bronze my face a little, and I used the Freedom Pro Warm Lights contour shade to contour my cheek bones and nose slightly.
Then I used Natural Collection's Blusher in the shade Peach Melba.
 On my brows I used the usual Soap and Glory Archery Brow Pencil, and Benefit's Gimme Brow. I drew my brows on a LOT thinner and more 'natural' looking today, as bold brows probably would have looked weird with such a minimal makeup look.
On my eyes I used, the usual, MUA Essential Matte's Eyeshadow Palette, using the first shade in the top row all over the lid and to highlight the brow bone and then the last shade, top row, in the crease. As you can probably tell, recently this has been my go to palette for everyday use.
Then I used my fave Primark Lift and Curl mascara on my top lashes only, and Rimmel London's Scandal Eyes eyeliner in the shade                nude, just to brighten my eyes a little.


I hope some of you found this post useful, as, for me anyway, this is a very minimal, everyday kind of look. I literally took me 10 minutes too, if that, so it is great for when you're in a rush.

Just incase you want to know, I actually passed that interview and I am onto the next stage of the interview process, which I have no idea if its the last stage or not, but none the less, I am one step closer to hopefully getting a job. YAY :)

I will hopefully have a super exciting blog post coming on Thursday of me showing you how to achieve this purple 'ombre' eyeshadow look. And it will hopefully be a video of me doing it, if not it will be a step by step guide.

I also have a massive list of other blog posts I want to do soon too, so keep an eye out for plenty more to come :)

Sunday, 26 July 2015

MAC Stone Lipliner makeup look...

Hey, so the other day I received MAC's stone lipliner in the post, special mention to my boyfriend James for buying it for me! I have wanted it for SO long, and I recently went into a MAC store and there was none left, so I ended up ordering it online. As soon as it came I just had to do all my makeup and try it out, as you do.

Here is the look I created, nothing too much, just a simple eye, bold brows, contour, and the bold Stone lip:

Here is how I created the look:

 On my face I used L'oreal Nude Magique BB Cream. I don't use this very often, because it is usually slightly too dark for me, but I love it, and now I fake tan it is actually perfect. I used this as a primer rather than a BB cream. Over the top I used a tiny bit of Benefit's Porefessional under my eyes, and around my nose.
Then I used Benefit's Hello Flawless foundation, which is soooooo nice! I haven't used it much but it really does make you look flawless, even without concealer! But, I still used my Collection concealer, as no matter how good the coverage, I still don't think I'd ever be able to do my makeup without using concealer.


Then I set my under eye concealer with MAC's Prep and Prime Transparent Finishing Powder, and then set the rest of the face with Benefits Hello Flawless Powder. Then I bronzed my cheeks, forehead, chin and jaw line with Benefit's Hoola. I contoured with Freedom's Bronzed Professional Pro Warm Lights, I also used the lightest shade to highlight under my eyes, down my nose and under my contour. I used Benefit's Rockateur Blusher, and MUA's Undress Your Skin to highlight.


On my brows I drew them on and filled them in using Soap and Glory's Archery Brow Pencil, and then used Benefit's Gimme Brow.
On the eyes I used the Maybelline Colour Tattoo in Creamy Beige, and then I used the light brown colour (last colour, top row) from the MUA Essential Mattes Palette in my crease and a tiny bit on the lower lid. Then I coated my lashes in the Freedom Curl Mascara.  


And then, obviously, I used MAC's stone lipliner all over the lips. I did apply the tiniest amount of Vaseline to the lips first though, as my lips were slightly dry and I knew using this lipliner all over would dry them out even more without the Vaseline. It also made it easier to fill in the lips too!

I hope you all like this look, I absolutely loved it! And I am in love with the Stone lipliner too! I will definitely be getting the lipstick version when it comes out in August/September here in the UK!


Thursday, 23 July 2015

Nicole Guerriero Inspired Makeup Look...

Hey everyone :)
I wanted to do a makeup look on myself, that was inspired by someone, and after a lot of searching, I eventually decided on doing a look inspired by my favourite YouTuber, Nicole Guerriero. No one can deny how absolutely stunning she is, and I came across a picture on her Instagram page that I loved, and wanted to do a similar look.

Here's the look, with Nicole on the left and my look on the right:


 And here is my before and after:


Here are the products I used:

On my brows I used Soap and Glory's Archery pencil, and Benefit's Gimme Brow.
I also used Khroma Beauty's Quickie mascara (which is one of my favourite mascaras EVER), as well as Benefit's Roller Lash mascara, for more dramatic lashes, without the need of falsies.
For the eyeliner I used my all time favourite liquid liner, by the Poundshop's own makeup brand called Makeup Gallery, and a No7 felt tip liner just to mark where the wing would be before using the liquid eyeliner. I also used a HelenE eyeliner on my lower lash line.


 I also used the MUA essential mattes palette on my eyes, Nicole's eyeshadow looked super simple, so I just used the first colour (the lightest) all over the lid and the the light brown colour (top row, last colour) in the crease.
On the face I used L'oreal's nude magique blur cream, followed by Benefit's Erase Paste on any blemishes and on my under eyes. I then used my sample sized Dior Star foundation, followed by a combination of Maybelline's The Eraser Eye and Fit Me concealer, under my eyes, and in the area's I'd highlight.


I set my under eye concealer with MAC's Prep and Prime Transparent Finishing Powder, and set the rest of my face with Seventeen's Miracle Matte Loose Powder. I contoured with Freedom's   Pro Contour Kit in fair, and used Benefit's Dandelion powder as a blush, and highlighted using MUA's Undress Your Skin highlighter in the shade.


Finally, to recreate Nicole's bold red lip, I used MUA's lip liner in the shade Red Drama, to line the lips, then filled in the lips using L'oreal's Colour Riche Collection Privee in the shade Blake's Red.


I loved this makeup look, ignoring the fact it was the worst lipstick application ever.
I loved the red lipstick, and I loved the contour kit by Freedom!

I hope you liked this post, I have another blog post coming soon about a makeup look using MAC's stone lipliner. But before then I will be doing a blog post review/first impressions of a product that was sent to me recently, so keep an eye out for that. :)

Sunday, 19 July 2015

Freedom makeup swatches...

Here it is, some swatches from my Freedom makeup haul! I am missing a few items, because they weren't at hand, but most of it is all here, enjoy :)


This is the Pro Melts Lipgloss in the shade just do it, as I said in my haul post, it is a little streaky but if you build it up this reduces.


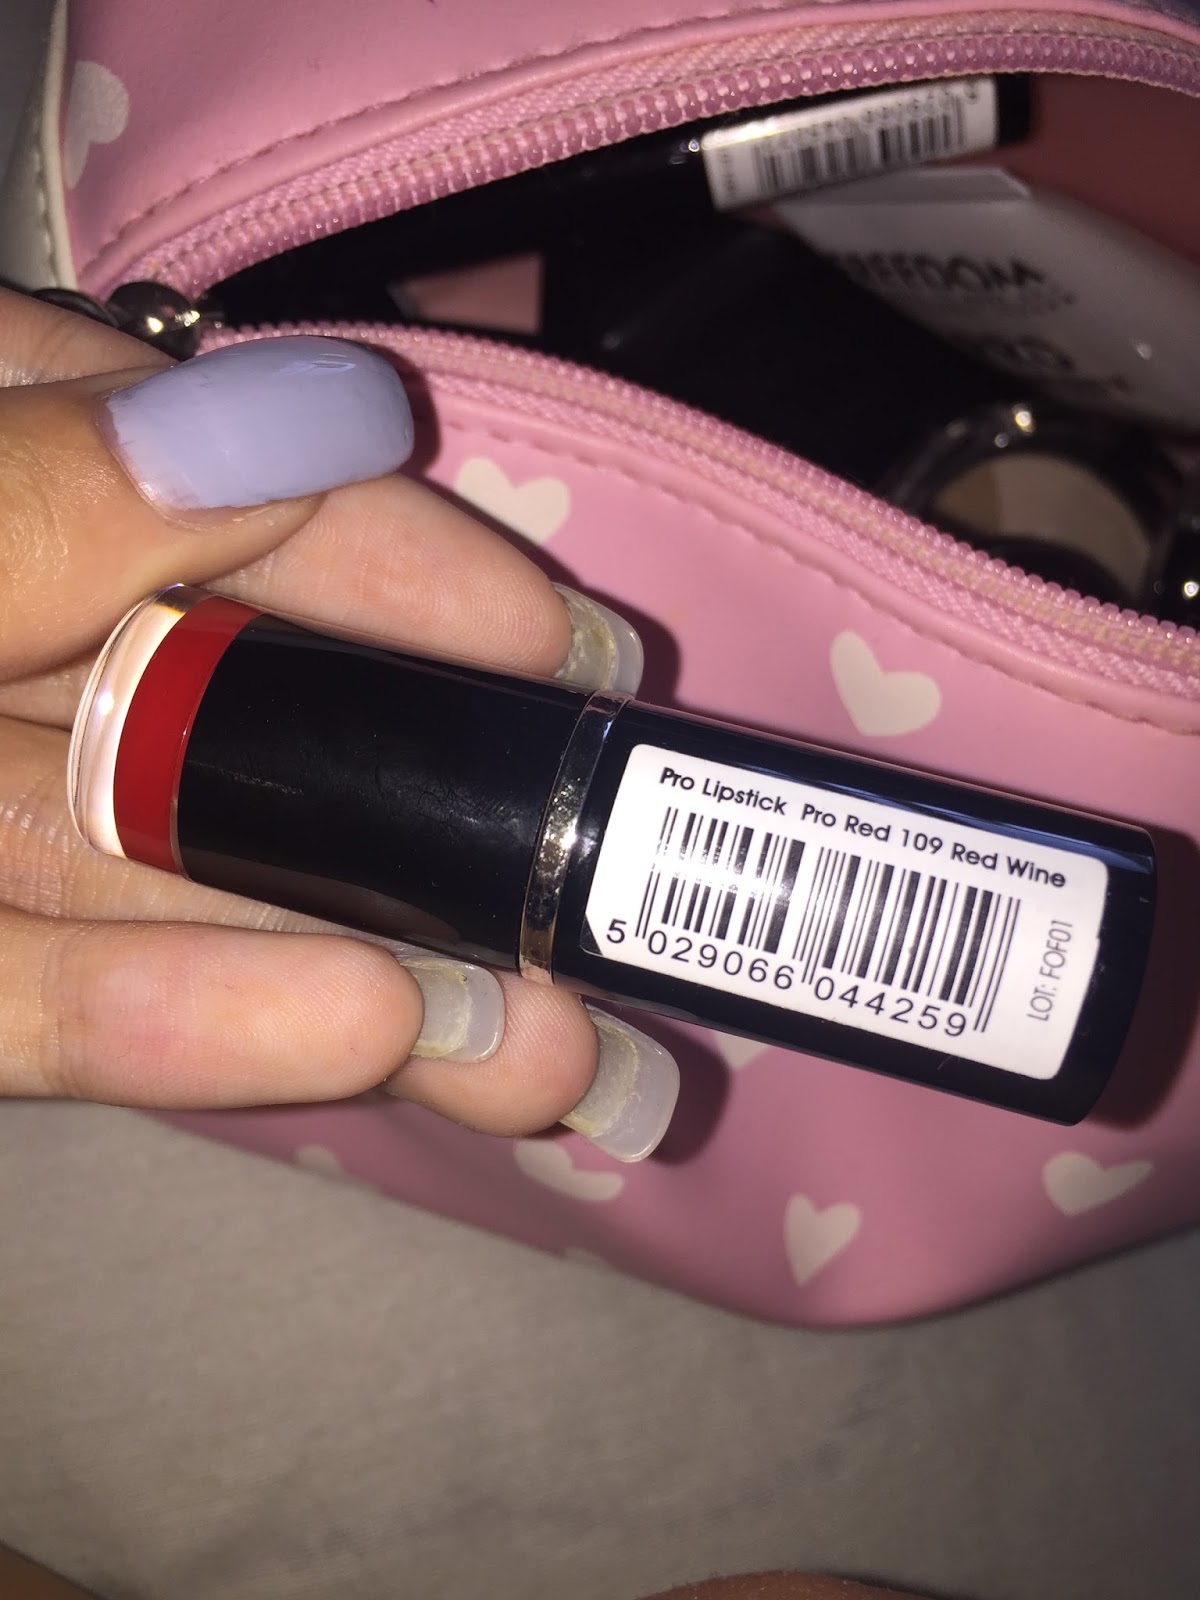
This is the Pro Lipstick in the shade red wine, it is super pigmented.


This is the Pro Glow in the shade Meow, it is very subtle on my skin tone, but it would still make a gorgeous highlight.


This is the eyeshadow in the shade smoulder 213, this product was already heavily pigmented without the need for layering up the colour.


This is the eyeshadow in the shade gilded 217, a beautiful bronzey gold.

This is the blush in the shade lethal weapon, a super pigmented barbie pink blush.

This is the eyeshadow in the shade brights 227, a light, shimmery purple, absolutely gorgeous centre of the lid colour!


This is the Pro Glow in the shade Purr, this is slightly more pink, I used this as a blush and I loved it!


This is the blush in the shade beyond, a super shimmery pinky orange colour, it would also probably make a nice eyeshadow colour too!


This is the Pro Contour kit in fair, as you can see the highlight is super light, which I love for my pale skin, and the contour (a bit above the highlight) is very subtle, hence why it is perfect again for my pale skin and for an everyday contour.


This is the eyeshadow in the shade gilded 216, a light shimmery pinky shade, again, a perfect centre of the eyelid shade, or even an inner corner highlight shade.

This is the Pro lipstick in the shade Flushed, it is so pigmented and creamy, and just a gorgeous pink shade.


This is the Pro lipstick in the shade sooner or later, which is one of my favourites, a beautiful pinky based nude, I know I will be wearing this a lot!


This is the eyeshadow in the shade brights 228, a beautiful light purple, which took two layers to reach this colour, which is still amazing given the price.

This is the eyeshadow in the shade Brights 230.


This is the lipstick in the shade Far Away, I LOVEEEEE it! This was only about two swipes of the lipstick, it is amazingly pigmented and just a beautiful colour!


Finally, this is the lipstick in the shade Luxe, it is so pigmented and beautiful, I have no idea when I would wear this, but I know I will eventually find an excuse to!


Just a quick little swatch post for you, as it was highly requested on my Instagram.
My next blog post will be about foundation! So keep checking back for that :)

Remember to use the code BEFREETOMAKEUP for 20% off everything at http://freedommakeuplondon.com

<3